Garage door springs play a crucial role in the smooth operation of your garage door system. These components are responsible for counterbalancing the weight of the door, allowing it to open and close with ease. Over time, however, garage door springs can wear out due to constant use and exposure to environmental factors, leading to potential safety hazards and operational issues.
In this comprehensive guide, we will walk you through the process on how to replace garage door springs, ensuring that your garage door functions safely and efficiently. Whether you’re a DIY enthusiast or a homeowner looking to tackle this project, our step-by-step instructions will provide you with the knowledge and confidence needed to complete the task successfully.
Understanding the different types of garage door springs
Before diving into the replacement process, it’s essential to understand the different types of garage door springs commonly used in residential and commercial settings:
- Torsion Springs: These springs are mounted on a shaft above the garage door and are responsible for counterbalancing the door’s weight. Torsion springs are typically found in heavier, larger garage doors.
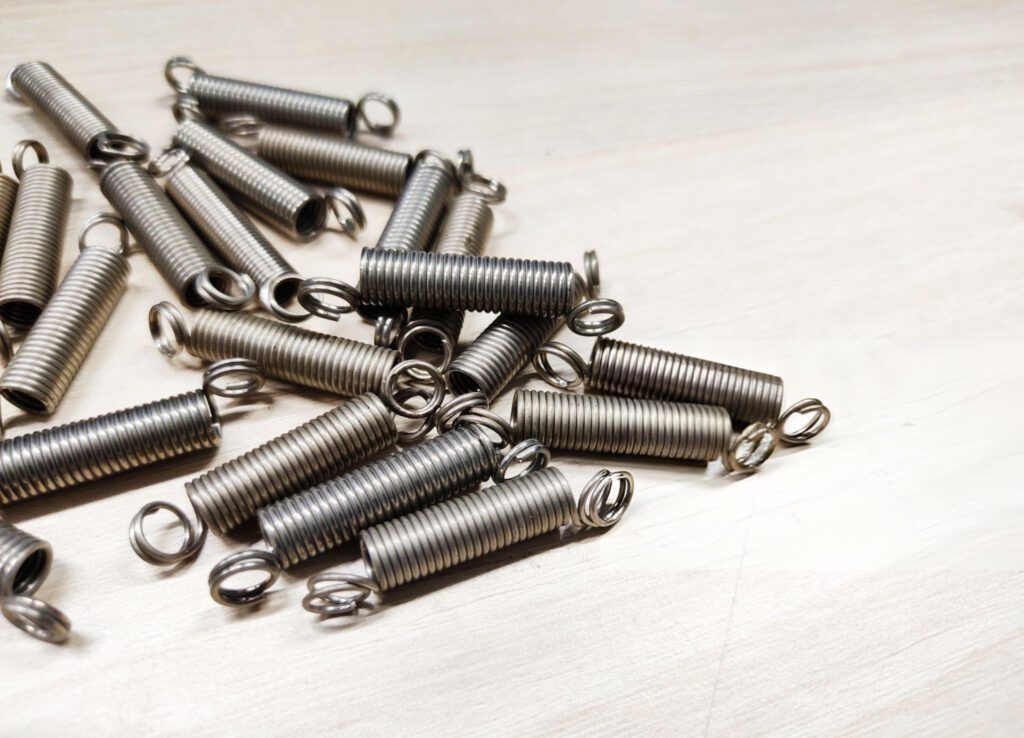
- Extension Springs: These springs are stretched and mounted along the horizontal tracks on either side of the garage door. Extension springs are commonly used in lighter, smaller garage doors.
Signs that your garage door springs need to be replaced
Recognizing the signs that your garage door springs are in need of replacement is essential for ensuring the safety and proper functioning of your garage door system. Here are some common indicators that it’s time to replace your garage door springs:
Difficulty in opening or closing the door
If you notice that your garage door is becoming increasingly difficult to operate manually, it could be a sign that the springs are losing their tension and need to be replaced.
Visible wear or damage
Over time, garage door springs can develop visible signs of wear, such as cracks, gaps, or deformities. If you notice any of these issues, it’s advisable to replace the springs as soon as possible.
Loud noises during operation
If your garage door makes loud, grinding, or squeaking noises when opening or closing, it could be an indication that the springs are worn out or misaligned.
Age of the springs
Garage door springs have a limited lifespan, typically ranging from 5 to 10 years, depending on the frequency of use and environmental conditions. If your springs are approaching or have exceeded their expected lifespan, it’s recommended to replace them proactively.
Preparing for the replacement process
Before starting the garage door spring replacement process, it’s essential to take the necessary precautions and gather the required tools and materials. Here are some important steps to follow:
Safety first
Garage door springs are under extreme tension and can cause severe injuries if not handled properly. It’s highly recommended to wear protective gear, such as safety glasses, gloves, and sturdy shoes, throughout the replacement process.
Gather the necessary tools and equipment
You’ll need a variety of tools, including winding bars, vice grips, pliers, a socket wrench set, and a ladder. It’s also advisable to have a second person assist you, especially when handling heavy garage door components.
Obtain the correct replacement springs
Measure the size and weight of your existing garage door to ensure you purchase the correct replacement springs. It’s crucial to follow the manufacturer’s specifications to ensure proper installation and safe operation.
Clear the work area
Remove any obstacles or clutter from the garage floor and ensure that you have ample space to work around the garage door safely.
Step 1: Gather the necessary tools and equipment
Before beginning the garage door spring replacement process, it’s essential to have the right tools and equipment on hand. Here’s a list of the items you’ll need:
- Safety glasses
- Heavy-duty gloves
- Sturdy shoes or work boots
- Winding bars (appropriate for your spring type)
- Vice grips or locking pliers
- Adjustable wrench or socket wrench set
- Ladder (tall enough to reach the garage door header)
- Replacement garage door springs (matching the size and weight of your existing springs)
- Lubricant (such as garage door lubricant or a lightweight oil)
- Helper (if possible, to assist with handling the heavy components)
Step 2: Disconnect the garage door opener
Before attempting to replace the garage door springs, it’s crucial to disconnect the garage door opener to prevent any accidental activation during the process. Follow these steps:
- Locate the emergency release cord or handle on the garage door opener. This is typically a red cord or handle that hangs down from the center of the opener.
- Pull the emergency release cord or handle to disengage the opener from the garage door. This will allow you to manually operate the door without the risk of the opener engaging unexpectedly.
- If your garage door opener has a manual release mechanism, follow the manufacturer’s instructions to disengage the opener from the door.
Step 3: Release tension from the springs
Before removing the old garage door springs, it’s crucial to release the tension from them safely. The process will vary depending on whether you’re working with torsion springs or extension springs:
For Torsion Springs:
- Locate the winding cones or drums on the torsion shaft above the garage door.
- Insert the winding bars into the holes on the winding cones or drums.
- While maintaining control of the winding bars, slowly and carefully rotate them to release the tension from the torsion springs. This may require multiple turns, and it’s essential to proceed with caution as the springs are under extreme tension.
- Once the tension is released, secure the winding bars in place to prevent the springs from rewinding.
For Extension Springs:
- Use vice grips or locking pliers to clamp down on the extension springs at both ends.
- Slowly and carefully release the tension from the springs by carefully opening the vice grips or pliers.
- Once the tension is released, secure the springs in place to prevent them from recoiling.
Step 4: Remove the old springs
With the tension released from the springs, you can now proceed to remove the old springs from the garage door system:
- For torsion springs, carefully remove the winding cones or drums from the torsion shaft, taking note of their positioning and orientation for the installation of the new springs.
- For extension springs, detach the springs from their mounting brackets or pulleys, being careful not to let them recoil or cause injury.
- Inspect the surrounding components, such as cables, pulleys, and brackets, for any signs of wear or damage. Replace any worn or damaged parts as necessary.
- Thoroughly clean the area and remove any debris or dirt that may have accumulated over time.
Step 5: Install the new springs
With the old springs removed and the area prepared, it’s time to install the new garage door springs:
- Carefully unpack the new springs and inspect them for any defects or damage.
- For torsion springs, follow the manufacturer’s instructions for winding and installing the new springs onto the torsion shaft. This may involve adjusting the winding cones or drums and securing them in place.
- For extension springs, attach the new springs to their mounting brackets or pulleys, ensuring they are properly aligned and secured.
- If necessary, adjust the cable drums or pulleys to ensure proper tension and alignment of the garage door cables.
- Lubricate all moving parts, such as hinges, rollers, and pulleys, with a suitable garage door lubricant or lightweight oil.
Step 6: Reattach the garage door opener
Once the new garage door springs are installed and the system is properly adjusted, it’s time to reconnect the garage door opener:
- Locate the emergency release cord or handle on the garage door opener and engage it to reattach the opener to the garage door.
- If your garage door opener has a manual release mechanism, follow the manufacturer’s instructions to reconnect the opener to the door.
- Test the opener’s functionality by opening and closing the garage door using the wall-mounted control or remote.
Step 7: Test the garage door springs
After completing the installation and reconnecting the garage door opener, it’s essential to test the new garage door springs to ensure proper operation:
- Open and close the garage door manually, checking for smooth and balanced movement.
- Observe the door’s travel and ensure it opens and closes evenly without any jerking or binding.
- Test the automatic opener function by opening and closing the door using the wall-mounted control or remote.
- Listen for any unusual noises or vibrations that may indicate an issue with the spring installation or alignment.
Tips for maintaining garage door springs
To ensure the longevity and optimal performance of your new garage door springs, it’s essential to follow these maintenance tips:
- Regular inspections: Conduct visual inspections of the garage door springs and components on a regular basis, looking for signs of wear, damage, or misalignment.
- Lubrication: Lubricate the moving parts, such as hinges, rollers, and pulleys, with a suitable garage door lubricant or lightweight oil at least once a year.
- Avoid overloading: Refrain from placing excessive weight or stress on the garage door, as this can accelerate the wear and tear on the springs.
- Professional servicing: Consider scheduling professional servicing and maintenance for your garage door system every few years to ensure optimal performance and safety.
Common mistakes to avoid when replacing garage door springs
While replacing garage door springs can be a DIY project, it’s essential to be aware of common mistakes that can compromise safety and proper installation:
- Failing to release tension properly: Attempting to remove or install springs without properly releasing the tension can lead to serious injuries and damage to the garage door system.
- Using incorrect replacement springs: Installing springs that do not match the size, weight, and specifications of your garage door can result in improper operation and potential safety hazards.
- Neglecting safety precautions: Failing to wear proper protective gear or follow safety guidelines can increase the risk of accidents and injuries.
- Attempting to repair damaged components: Attempting to repair or reuse damaged or worn components, such as cables or pulleys, can compromise the overall safety and functionality of the garage door system.
- Improper lubrication: Neglecting to lubricate the moving parts or using the wrong lubricant can lead to premature wear and tear, as well as increased friction and noise.
Frequently Asked Questions
Can I replace just one garage door spring?
It’s generally recommended to replace both springs simultaneously, even if only one appears worn or damaged. This ensures balanced operation and prevents uneven wear on the new spring.
How often should I replace my garage door springs?
The lifespan of garage door springs can vary depending on factors such as usage frequency, weight of the door, and environmental conditions. Most manufacturers recommend replacing them every 5 to 10 years as a preventative measure.
Can I adjust the tension on my garage door springs myself?
Adjusting the tension on garage door springs is a delicate and potentially dangerous task. It’s best to seek professional assistance or follow the manufacturer’s instructions carefully to avoid potential injuries or damage.
What should I do if my garage door springs break unexpectedly?
If your garage door springs break unexpectedly, do not attempt to open or close the door manually. Contact a professional garage door service provider for prompt and safe replacement.
Can I replace my garage door springs with a different type?
It’s generally not recommended to replace your existing springs with a different type (e.g., replacing torsion springs with extension springs). Each type of spring is designed specifically for your garage door system, and using the wrong type can lead to operational issues and potential safety hazards.
Conclusion
Replacing garage door springs is a crucial maintenance task that ensures the safe and reliable operation of your garage door system. By following the step-by-step guide outlined in this article, you can tackle this project with confidence and ensure the longevity of your garage door components.
Remember, safety should always be the top priority when working with garage door springs. If you have any doubts or concerns, it’s advisable to seek professional assistance to avoid potential injuries or damage.
If you’re in need of professional garage door services, including spring replacement, repair, or installation, contact Wallen Garage Door. Our team of experienced technicians is dedicated to providing top-notch service and ensuring the safety and functionality of your garage door system. Visit our website at [wallengaragedoor.com](https://wallengaragedoor.com) or call us at (123) 456-7890 to schedule a consultation or request a free quote today
End Note
Thank you for reading our blog! At Wallen Garage Doors, we’re dedicated to providing top-notch service and innovative solutions for all your garage door needs. Whether you need a quick repair, a new installation, or are interested in Amarr garage doors, our expert team is here to help.
Discover our full range of services by visiting our website. If you’re in Hampton, VA, and need garage door repairs, our repair page offers detailed information on how we can assist you. We proudly serve various areas across Virginia, as detailed on our service areas page.
Explore the exceptional quality of Amarr garage doors and find out why they might be the perfect choice for your home. Learn more about our company and our commitment to excellence on our About Us page.
For more tips, updates, and insights, don’t miss our social media pages. Follow us on Facebook and Instagram for the latest news and special offers.
Ready to enhance your home with professional garage door services in Hampton, VA? Contact us today! We look forward to working with you and ensuring your garage door is in top condition.