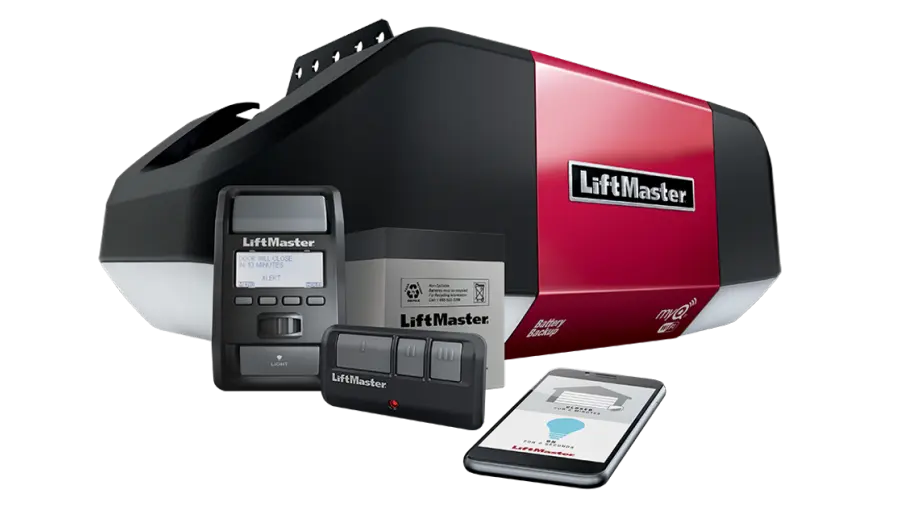
Liftmaster is a renowned brand that specializes in garage door openers and remotes, providing homeowners with a convenient and secure way to access their garages. With a Liftmaster garage door remote, you can effortlessly open and close your garage door from the comfort of your vehicle, enhancing both convenience and security. However, to enjoy these benefits fully, it’s essential to program your remote correctly. An improperly programmed remote can lead to frustration and inconvenience, as it may fail to communicate effectively with your garage door opener.
In this comprehensive guide, we’ll walk you through the process of programming a Liftmaster garage door remote, step by step. From locating the learn button on your garage door opener to testing the remote’s functionality, we’ll cover every aspect of the programming process. Additionally, we’ll provide troubleshooting tips to help you address any issues that may arise, ensuring a straightforward and hassle-free experience. Whether you’re a first-time user or need a refresher, our guide will help you quickly and efficiently program your Liftmaster remote, allowing you to enjoy the full benefits of this advanced technology.
Understanding the programming process
Programming a Liftmaster garage door remote may seem daunting at first, but it’s a straightforward process that can be easily mastered with the right guidance. The programming procedure involves clearing any existing codes from the remote, entering a programming mode, and then teaching the remote to communicate with your specific garage door opener. By following the steps outlined in this guide, you’ll be able to program your Liftmaster remote with confidence.
Step 1: Clearing out existing codes
Before you begin programming your Liftmaster remote, it’s crucial to clear any existing codes that may be stored in its memory. This step ensures that your remote starts with a clean slate, preventing any interference or conflicts with previous programming.
To clear existing codes, follow these steps:
- Locate the program or learn button on your garage door opener. This button is typically located near the antenna wire or on the motor unit itself.
- Press and hold the program or learn button until the indicator light turns on (usually after a few seconds).
- Press and release the remote button you wish to program. The indicator light should blink, confirming that the existing codes have been cleared.
Step 2: Locating the program or learn button
The program or learn button is a critical component in the programming process. It allows your garage door opener to recognize and accept new remote codes. Depending on your Liftmaster model, the location of this button may vary.
Here are some common locations for the program or learn button:
- On the motor unit of the garage door opener
- Near the antenna wire of the garage door opener
- On the wall control panel or remote control panel
Consult your Liftmaster owner’s manual or search online for your specific model to locate the program or learn button accurately.
Step 3: Entering programming mode
Once you’ve located the program or learn button, it’s time to enter programming mode. This step prepares your garage door opener to accept and store the new remote code.
To enter programming mode, follow these steps:
- Press and release the program or learn button on your garage door opener. The indicator light should turn on or start blinking, indicating that the opener is in programming mode.
- You typically have about 30 seconds to complete the next step before the programming mode times out. If the programming mode times out, simply repeat this step.
Step 4: Programming the remote
With your garage door opener in programming mode, you can now proceed to program your Liftmaster remote. This step involves transmitting the remote’s code to the opener, allowing it to recognize and respond to that specific code.
To program the remote, follow these steps:
- Stand within close proximity to the garage door opener (usually within 10-15 feet).
- Press and hold the button on the remote that you want to program until the indicator light on the opener blinks or flashes, indicating that the code has been successfully programmed.
If you have multiple buttons on your remote, repeat this step for each button you want to program.
Step 5: Testing the remote
After programming your Liftmaster remote, it’s essential to test its functionality to ensure it’s working correctly. This step will also help you identify any potential issues or errors that may have occurred during the programming process.
To test the remote, follow these steps:
- Stand outside your garage, within range of the opener.
- Press the button on the remote that you programmed.
- The garage door should respond by opening or closing, depending on its current state.
If the remote doesn’t work as expected, refer to the troubleshooting section for guidance on resolving common issues.
Troubleshooting common issues

While the programming process for Liftmaster remotes is generally straightforward, you may encounter some issues along the way. Here are some common problems and their potential solutions:
- Remote not working after programming:
- Ensure that you’re within range of the garage door opener when testing the remote.
- Check the batteries in the remote and replace them if necessary.
- Repeat the programming process, making sure to follow the steps carefully.
- Ensure that you’re within range of the garage door opener when testing the remote.
- Indicator light not turning on or blinking during programming:
- Check if the program or learn button is functioning correctly.
- Consult your owner’s manual or contact Liftmaster support for further assistance.
- Check if the program or learn button is functioning correctly.
- Remote works intermittently or has a limited range:
- Replace the batteries in the remote.
- Check for any obstructions or interference that may be affecting the signal.
- Consider relocating the garage door opener or installing a signal booster.
- Replace the batteries in the remote.
If you continue to experience issues after troubleshooting, it’s recommended to seek professional assistance for your garage door repair or contact Liftmaster customer support for further guidance.
Additional tips and tricks for programming Liftmaster remotes
- Programming multiple remotes: If you have multiple remotes that need to be programmed, repeat the programming process for each remote individually.
- Using temporary remotes: Liftmaster offers temporary remotes that can be programmed for short-term use, such as for guests or service personnel. Follow the same programming process, and be sure to clear the temporary remote’s code when it’s no longer needed.
- Reprogramming remotes: If you need to reprogram a remote that has already been programmed, start by clearing the existing codes before following the programming steps again.
- Updating remotes: As technology evolves, Liftmaster may release new remote models or updates. Check with the manufacturer for compatibility and programming instructions when upgrading to a new remote.
FAQs
Can I program multiple remotes to work with the same garage door opener?
Yes, you can program multiple remotes to work with the same garage door opener by following the programming process for each remote individually.
How do I know if my remote needs new batteries?
If your remote seems to have a limited range or works intermittently, it may be an indication that the batteries need to be replaced.
Can I program a Liftmaster remote to work with a different brand of garage door opener?
No, Liftmaster remotes are designed to work specifically with Liftmaster garage door openers. Using a Liftmaster remote with a different brand of opener may not work or could cause compatibility issues.
How long does the programming mode stay active?
The programming mode typically stays active for about 30 seconds. If the programming mode times out before you complete the programming process, you’ll need to repeat the steps to re-enter programming mode.
Can I program a Liftmaster remote without the program or learn button?
No, the program or learn button is essential for the programming process. If your garage door opener doesn’t have a visible program or learn button, consult your owner’s manual or contact Liftmaster customer support for assistance.
Conclusion
At Wallen Garage Door, we understand that a properly programmed Liftmaster garage door remote is essential for your convenience and security. Our step-by-step guide ensures you can easily program your remote and enjoy the seamless operation of your new garage door. But sometimes, you might need a little extra help, and that’s where we come in.
Our team of experienced technicians is ready to assist you with all your garage door needs, from programming your remote to performing routine maintenance and repairs. Don’t let a misconfigured remote disrupt your day. Contact Wallen Garage Door today for professional, reliable service that guarantees your garage door will operate smoothly and efficiently. Let us help you experience the full convenience and security that Liftmaster technology offers. Trust Wallen Garage Door to be your go-to expert for all things garage doors!
End Note
Transform your garage with the expert services from Wallen Garage Door. Whether you need a new installation, repair, or routine maintenance, our team is dedicated to providing top-notch service to ensure your garage door operates flawlessly. Learn more about our commitment to excellence and customer satisfaction on our About Us page.
Curious about the possibilities for your garage door? Try out our innovative Door Designer tool to visualize and customize the perfect garage door for your home. We proudly serve a wide range of areas, so check out our Service Areas to see if we’re available in your neighborhood. No matter where you are, Wallen Garage Door is committed to delivering exceptional service and quality.
Stay connected with us and see our latest projects, tips, and updates by following us on social media. Like us on Facebook, get inspired on Pinterest, and see our latest posts on Instagram. We love sharing our work and engaging with our community, so join us online for more garage door inspiration.
Don’t just take our word for it – check out our reviews on Yelp to see what our satisfied customers have to say. Wallen Garage Door is your trusted partner for all your garage door needs, providing reliable, professional service every step of the way. Contact us today to get started on your garage door transformation!